I recently read a detailed review of Adobe Camera Raw features, which described how exactly this application helps work with RAW files and turn “raw material” into finished shots. Some of the tools seemed too promising to me — so I decided to test everything in practice.
I’ll say it right away: Camera Raw is not just an add-on to Photoshop, but a powerful module with its own character. In this article, I’ll tell you how specific functions work live and whether you should rely on them in everyday processing.
RAW files: freedom in its purest form
Camera Raw reveals the potential of RAW files, giving you the ability to control every aspect of the image. It really is like working with a draft, where you can rewrite everything without losing the original.
📌 My experience:
I opened a portrait taken in difficult lighting conditions. Only by changing the white balance and the exposure slider was it possible to “save” the photo without resorting to heavy retouching.
if you shoot in RAW, Camera Raw is a must-have in your workflow.
Basic settings: everything under control
Tools like Exposure, Contrast, Highlights, Shadows and others are the basis of processing. The article compared them to adjusting the lighting in a room, and this is an excellent description.
📌 My test:
On a landscape with a bright sky and dark ground, I moved Highlights to minus, and Shadows to plus – and got a balanced image where everything is readable.
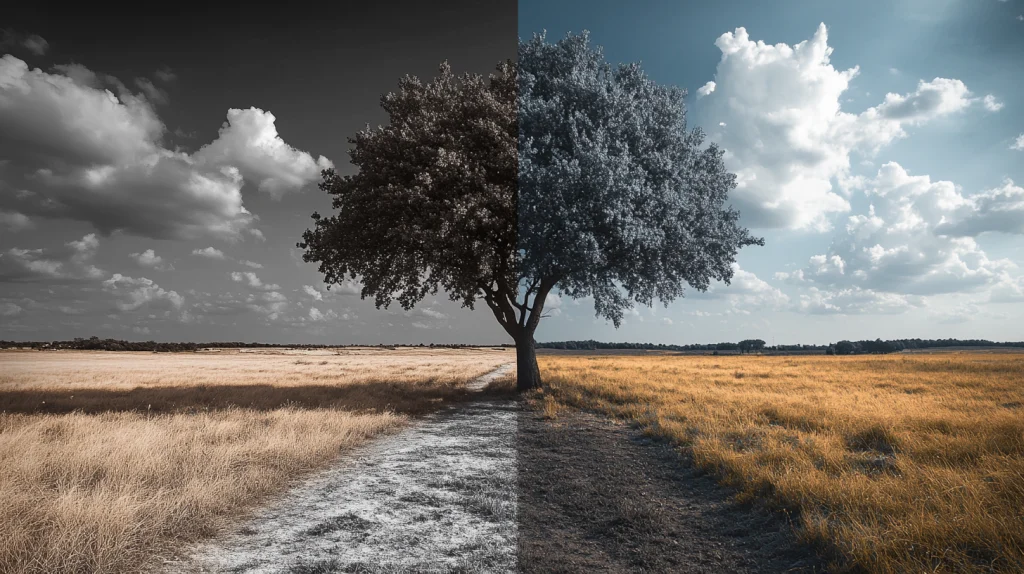
Simple sliders, but give noticeable control even in the first minutes of work.
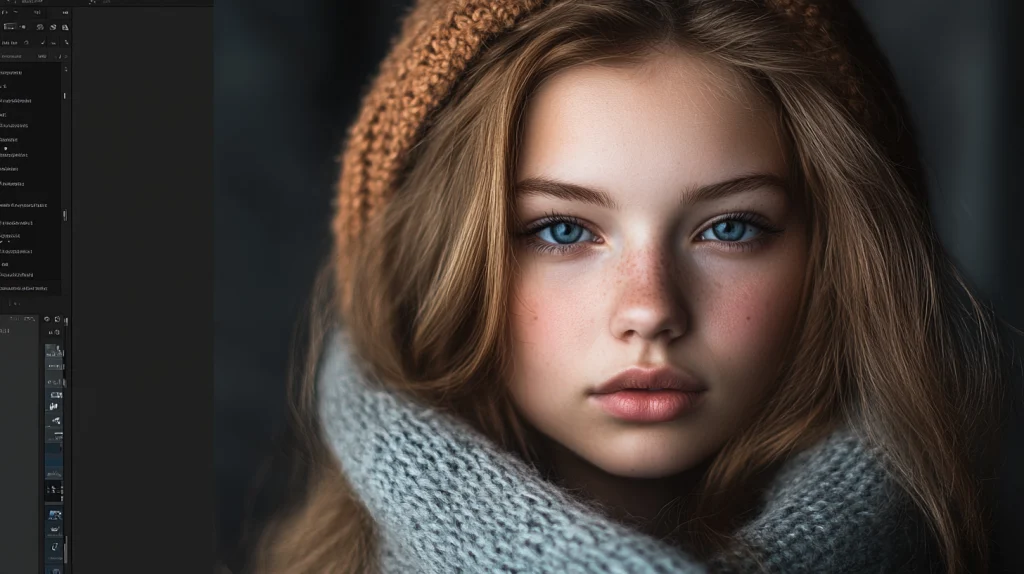
Healing Brush and Spot Removal – simple and effective
Retouching tools work quickly and accurately. Healing Brush copes with small defects on the skin, and Spot Removal – with dust and stains.
📌 My test:
Removed several pimples from a portrait photo — the result looked natural, without “blurring” or rough spots.
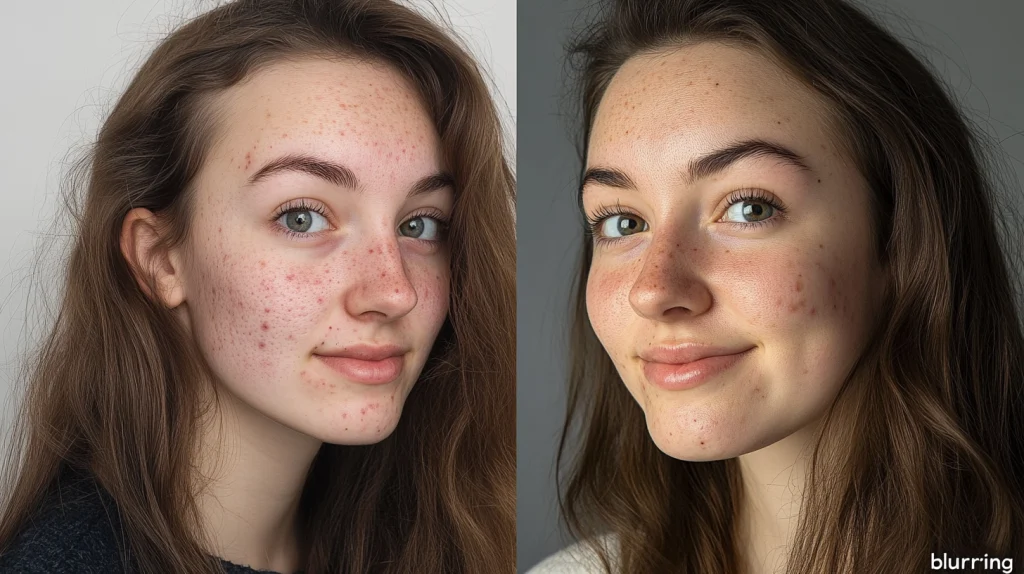
You don’t always need to go to Photoshop — Camera Raw does a great job of basic retouching.
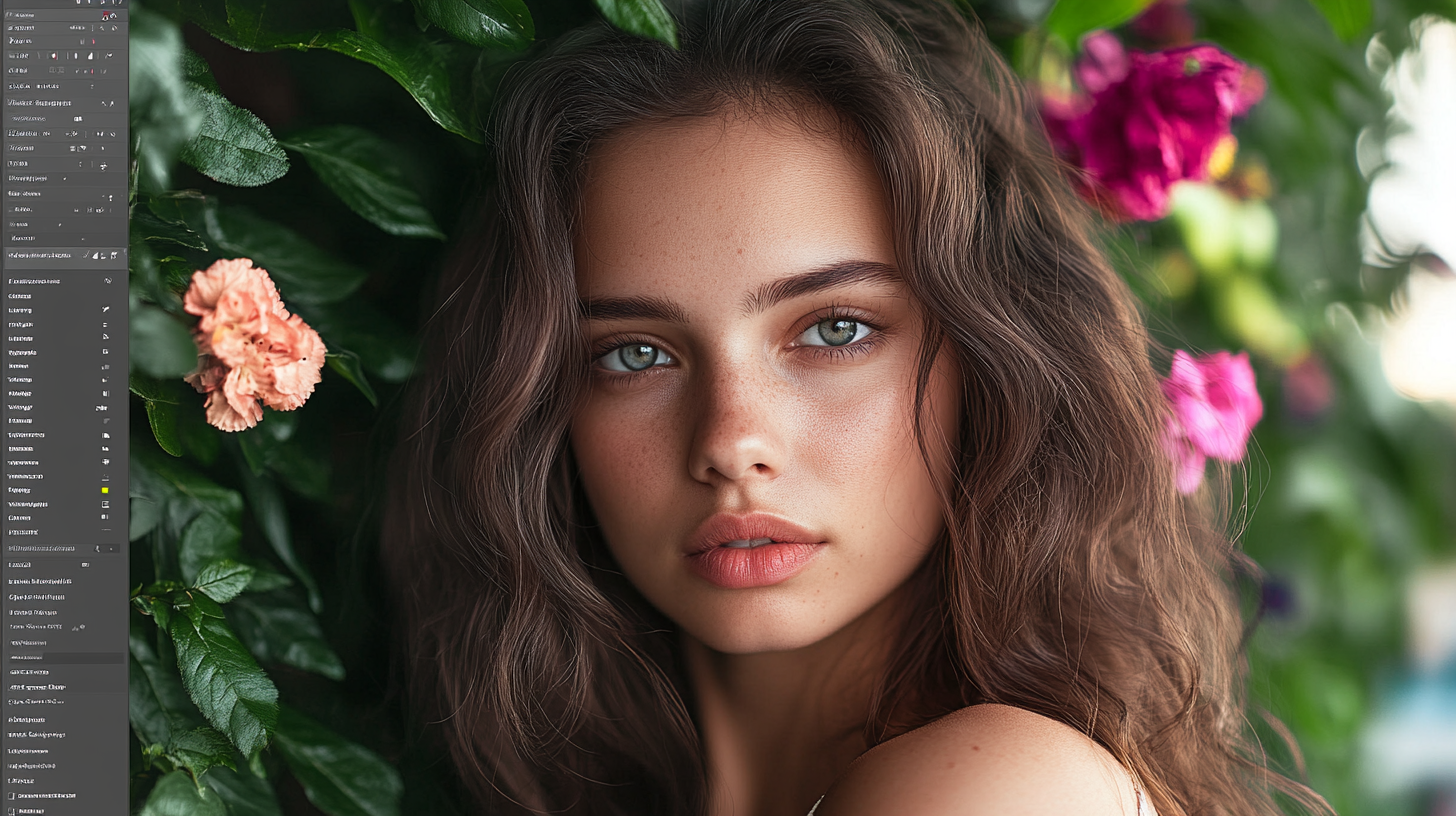
Auto-enhancement and “Select Subject”: AI really helps
The AI-based tools really impressed me. Especially Select Subject — it automatically recognizes the main object and applies a mask to it.
📌 My experiment:
I opened a photo of a girl against the backdrop of a forest. Camera Raw instantly highlighted her figure — I increased the exposure and contrast only on her. It took less than a minute.
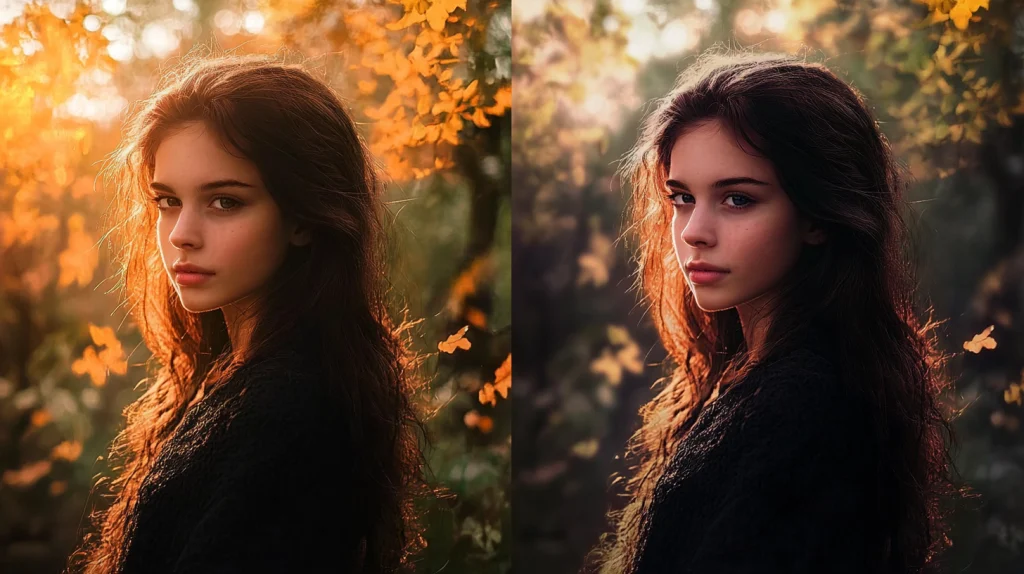
Saves a lot of time when processing portraits.
Presets: speed + uniform style
Ready-made presets are a real find. Especially if you are processing a series of photos and want to maintain visual unity.
📌 My test:
I took a series of photos in a cafe, applied a warm filter to all the images using one preset — the series immediately “played” with a coherent atmosphere.
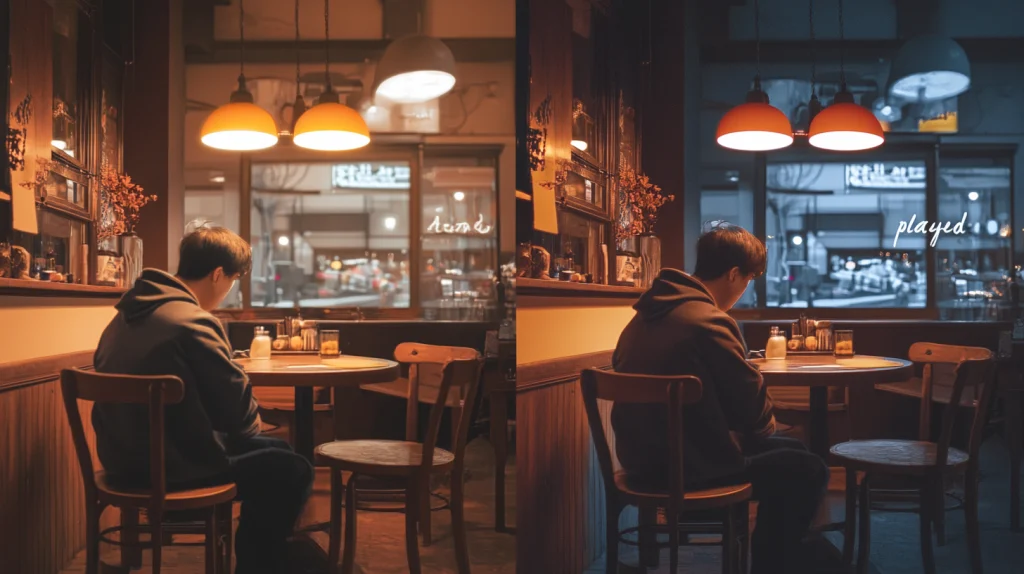
Ideal for bloggers, content makers and those who work with series.
After testing all the key tools from this article about Camera Raw, I realized that this module has become much smarter, faster and more user-friendly. This is especially noticeable if you used to go straight to Photoshop. Now you can do a lot right here — conveniently, quickly and at a high level.
If you shoot in RAW — try using Camera Raw as the main stage of processing. The chance that you will be pleasantly surprised is extremely high.